
If your current AC struggles through hot afternoons, runs nonstop, or leaves some rooms cool and others sticky, the ac installation process matters more than most homeowners expect. A new system is only as good as the way it is selected, sized, and installed. The equipment brand matters, but installation quality is what determines how well your home actually feels in July, how much energy you use, and how long the system lasts.
For most homeowners, this is not just a purchase. It is a comfort decision, a budget decision, and in many cases a timing decision. When the heat hits hard, you want the job done quickly. You also want it done right the first time, without surprises, mess, or vague answers.
Why the AC installation process matters
A properly installed air conditioner should cool your home evenly, manage humidity, and operate efficiently without constant strain. If the system is too large, it may cool the house too fast and shut off before removing enough moisture from the air. If it is too small, it may run for long periods and still fail to keep up. Poor airflow, incorrect refrigerant charge, weak electrical connections, or leaky ductwork can also reduce performance even if the unit itself is high quality.
That is why installation is not just about replacing a box outside. It is a full system job that should account for your home’s layout, insulation levels, existing ductwork, electrical capacity, and comfort goals. In older homes especially, there can be hidden issues that need to be addressed before the new system can perform the way it should.
Step 1: In-home assessment and system sizing
A professional installation usually starts with an in-home visit. This is where a technician or comfort advisor looks at your current setup, asks about hot and cold spots, checks the age and condition of related equipment, and measures the home if needed.
This step is where good contractors separate themselves from rushed ones. A proper recommendation should not be based only on square footage or the size of the old unit. Your home’s windows, sun exposure, insulation, air leakage, ceiling height, and duct design all affect cooling demand. If the old system was oversized or undersized, simply matching it can repeat the same comfort problems.
In some cases, homeowners are also deciding between a standard central AC and a heat pump. That choice depends on budget, energy goals, and whether you are planning a broader HVAC upgrade. There is no one-size-fits-all answer. The right option depends on how you use the home and what kind of performance you expect year-round.
Step 2: Choosing the right equipment
Once sizing is complete, the next part of the ac installation process is equipment selection. This usually includes the outdoor condenser, indoor evaporator coil, and sometimes a new furnace or air handler if the existing equipment is not a good match.
Efficiency ratings matter here, but they should be viewed in context. Higher-efficiency systems can reduce operating costs, but they also come with a higher upfront price. For some households, that trade-off makes sense because they plan to stay in the home for many years. For others, a mid-efficiency system installed correctly may offer better value.
Noise level, warranty coverage, available rebates, and smart thermostat compatibility can also influence the decision. Homeowners with young children, home offices, or bedrooms near the outdoor unit often care more about quiet operation than they expected.
Step 3: Preparing the home for installation
Before the new system goes in, the old equipment must be disconnected and removed safely. That includes handling refrigerant properly and checking the installation area for any code or safety issues. Depending on the setup, the crew may also need to inspect the pad under the outdoor unit, replace refrigerant lines, update the disconnect box, or improve drainage near the coil.
Inside the home, access matters. The installation team may need room around the furnace, air handler, attic platform, or utility area. Good technicians take steps to protect floors and keep the work area clean. That may sound basic, but it makes a real difference in the customer experience.
Some installations are straightforward. Others uncover problems such as corroded line sets, poor duct sealing, clogged drains, or outdated electrical components. This is where transparency matters. If something needs to be corrected, you should get a clear explanation of why it matters and what your options are.
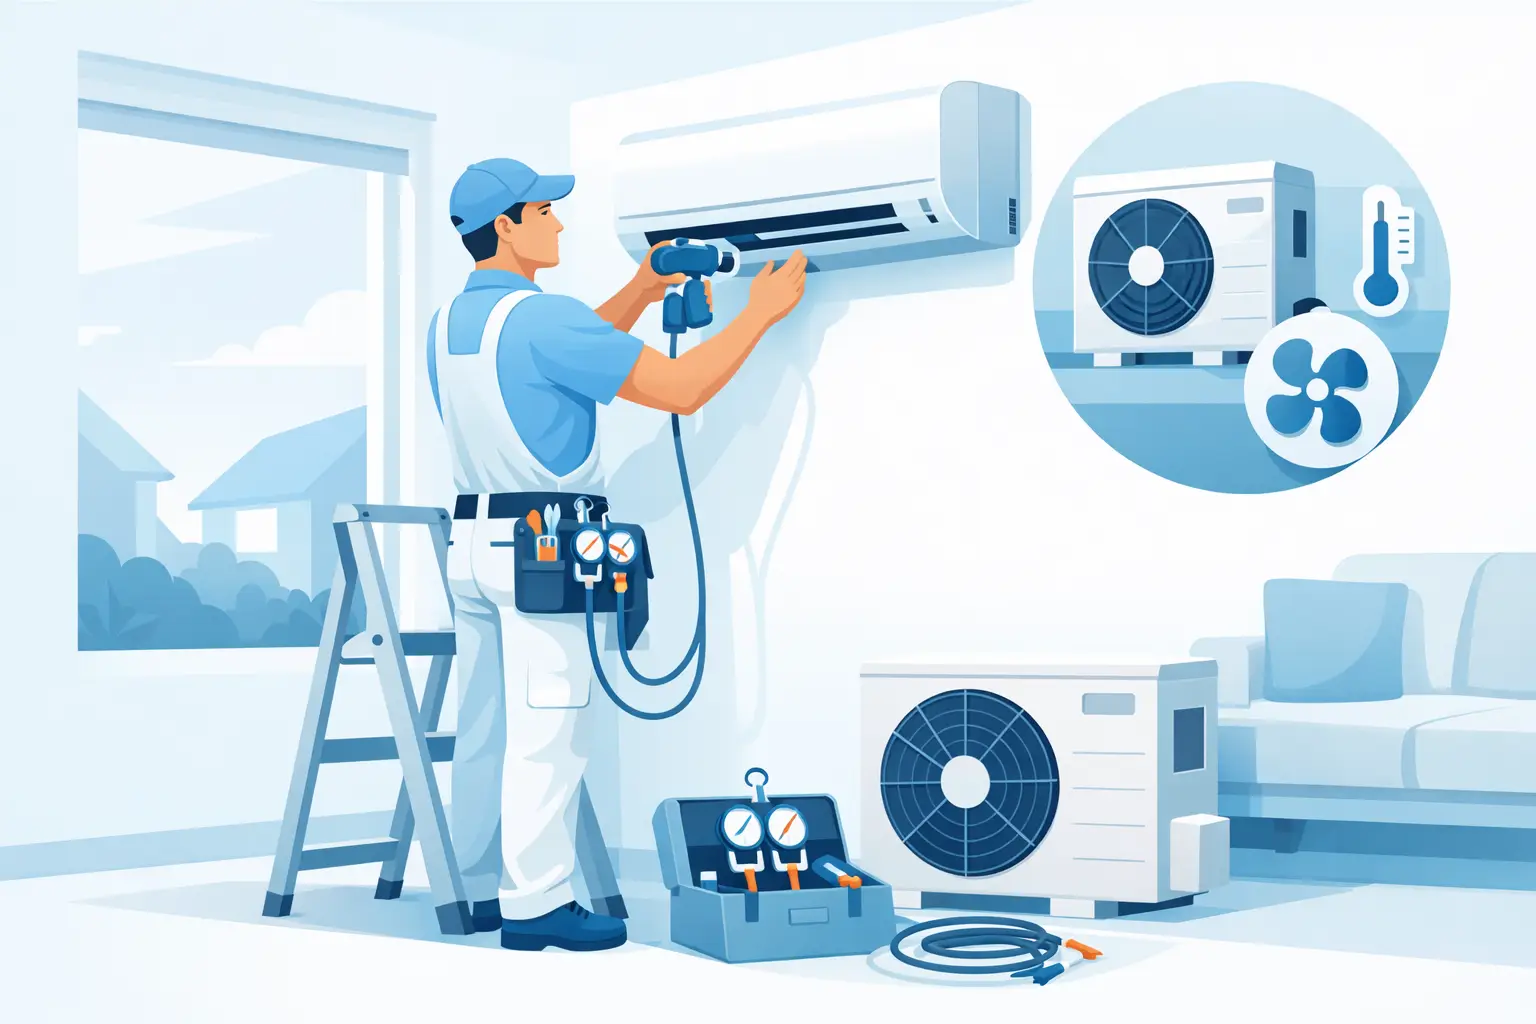
Step 4: Installing the indoor and outdoor components
This is the part most people picture, but it is only one phase of the job. The outdoor condenser is set in place, leveled, and connected to the refrigerant lines and electrical supply. Indoors, the evaporator coil is installed or replaced, and the technician confirms that it is properly matched to the condenser.
If the existing furnace is staying, the installer should still inspect how it pairs with the new AC system. Mismatched equipment can lead to airflow problems and lower efficiency. If the blower is weak or aging, that can affect comfort just as much as the outdoor unit.
Drainage is another detail that should never be rushed. Condensate needs a clear, properly sloped path to drain away. A poor drain setup can lead to water damage, shutdowns, or mold concerns over time.
Step 5: Electrical, refrigerant, and airflow setup
A lot of installation quality comes down to technical details homeowners never see. The system needs the correct electrical connections, proper breaker sizing, safe disconnect access, and secure wiring. Refrigerant lines must be installed or reused according to manufacturer requirements, pressure-tested, and vacuumed before charging the system.
Then comes airflow. This is where installers verify blower settings, check static pressure, and make sure the system can move enough air through the ductwork. If your home has persistent temperature differences between rooms, this is the point where those issues should be discussed honestly. Sometimes dampers, duct modifications, or return air improvements are needed to get better balance.
A new AC cannot fully solve a duct system problem on its own. It can improve performance, but if the ductwork is undersized, leaking, or poorly laid out, comfort may still be inconsistent. That is not a reason to avoid replacement. It is simply a reminder that real solutions come from looking at the whole system.
Step 6: Testing, calibration, and walkthrough
Once the system is installed, it should be tested under operating conditions. The technician checks refrigerant pressures, temperature split, airflow, thermostat communication, drain performance, and overall system response. Startup is not the finish line. Verification is.
You should also get a walkthrough before the crew leaves. That includes how to use the thermostat, what normal operation sounds like, when to replace filters, and what signs mean you should call for service. If permits or inspections are required, that process should be explained clearly too.
For many homeowners, this final step is where confidence is built. You do not need a technical lecture. You need straight answers, realistic expectations, and the sense that the job was completed carefully.
How long does AC installation usually take?
Most standard residential installations can be completed in one day, especially if the new system is similar to the old one and no major duct or electrical changes are needed. More complex jobs can take longer. That includes homes with tight access, attic installations, line set replacement, or furnace and AC combinations installed together.
If you are replacing a failed system during peak summer, timing also depends on equipment availability and scheduling demand. This is one reason many homeowners choose to plan ahead rather than wait for a full breakdown.
What affects cost?
The ac installation process is not priced by equipment alone. Cost depends on system size, efficiency level, home layout, ductwork condition, electrical upgrades, labor complexity, and whether related components need replacement. A low quote can look attractive until it leaves out items that matter, such as a new coil, pad, line set work, or code-related updates.
A better approach is to look for clear scope, professional recommendations, and installation practices that protect long-term performance. Financing can also make a better-fit system more manageable, especially when the choice is between an emergency replacement and a short-term patch.
How to know you are getting a quality installation
A quality install usually feels organized from the start. The contractor explains sizing, gives a detailed estimate, answers questions directly, and does not rush past the condition of the ductwork or indoor equipment. On install day, the crew arrives prepared, protects the home, completes testing, and leaves you with a system that has been properly commissioned, not just turned on.
That matters whether you are replacing an aging unit in Toronto, upgrading a family home in Mississauga, or preparing a rental property for the next heat wave. Fast service is valuable, but quality workmanship is what keeps that service from becoming a repeat problem.
The best AC installation is not the one with the flashiest brochure. It is the one that gives you steady comfort, lower stress, and fewer surprises when summer is at its worst.