
A new air conditioner should not feel like a gamble you only notice during the first heat wave. This AC installation process explained guide shows what professional installation should look like, why each step matters, and what you can do to prepare your home for dependable cooling.
For homeowners, the equipment is only part of the investment. Correct sizing, refrigerant handling, electrical work, drainage, and final testing all affect comfort, energy use, and the life of the system. A high-efficiency unit installed poorly can still leave rooms too warm, raise utility bills, or create avoidable repair problems.
Before Installation: Selecting the Right System
The process starts well before the technician arrives with a new condenser. A qualified contractor should assess the home, discuss comfort concerns, and recommend equipment based on your actual cooling needs rather than simply matching the size of your old unit.
Many homeowners assume that bigger means better. It does not. An oversized air conditioner can cool the house too quickly and shut off before removing enough humidity. The result is a home that feels cool but clammy, with frequent on-and-off cycling that adds wear to the equipment. An undersized system may run for long periods without keeping up on the hottest days.
Proper system selection considers more than square footage. Your contractor should look at insulation levels, window exposure, ceiling height, home layout, ductwork condition, air leakage, and the number of people living in the home. Recent renovations also matter. A finished basement, new windows, attic insulation, or an addition can change the home’s cooling load.
This is also the time to decide whether a central air conditioner is the right fit or whether a heat pump offers better year-round value. A heat pump provides cooling in summer and can assist with heating in cooler weather. The best choice depends on your existing heating system, budget, comfort goals, and local energy costs.
Reviewing the estimate
A clear estimate should explain the proposed equipment, installation scope, warranty coverage, and any work required beyond replacing the outdoor unit. That may include electrical upgrades, a new thermostat, duct modifications, a condensate pump, a new pad for the outdoor unit, or changes to the refrigerant line set.
Price matters, but an unusually low quote can leave out essential work. Ask what is included, who will obtain permits if needed, and how the company handles unexpected issues found during installation. A straightforward answer before the job begins prevents surprises later.
The AC Installation Process Explained Step by Step
On installation day, the crew should arrive ready to protect your home and review the work with you. You may need to clear a path to the furnace or air handler, electrical panel, and outdoor equipment location. Keeping pets and children away from the work area also helps the team work safely and efficiently.
1. Removing the old equipment safely
If you are replacing an existing system, technicians first shut off power and recover the old refrigerant using approved equipment. Refrigerant must never be released into the air. The old outdoor condenser, indoor evaporator coil, and related materials are then removed for proper disposal or recycling.
This phase is a good opportunity to inspect what is behind the old equipment. Corrosion, damaged insulation, a deteriorated drain line, or undersized wiring may not be obvious until the old system is out.
2. Preparing the outdoor unit location
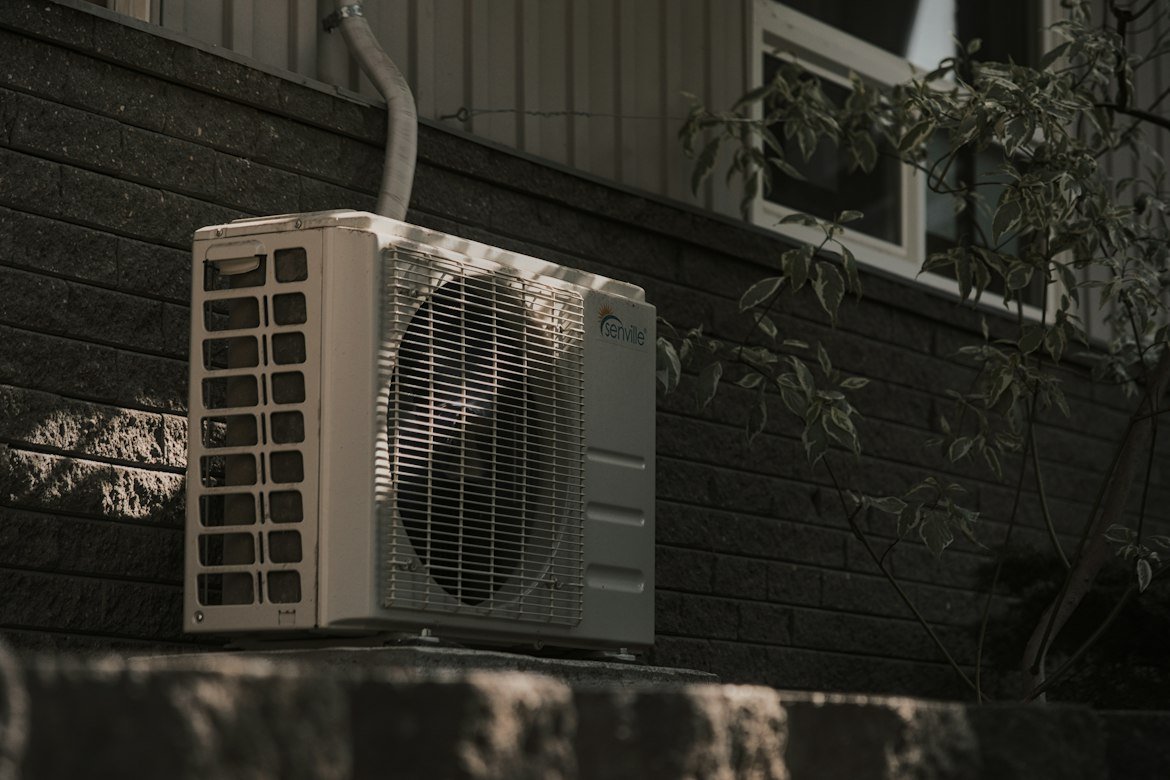
The new condenser needs a stable, level base with adequate clearance for airflow and service access. It is usually placed on a composite pad or wall bracket, depending on the property and installation plan. The location should keep the unit away from obstructions such as dense shrubs, fences, dryer vents, and areas where snow or roof runoff can collect.
A level base is not a cosmetic detail. If the condenser shifts or settles, it can affect drainage, vibration, and the long-term condition of refrigerant lines. The outdoor unit should also be positioned thoughtfully to limit unnecessary noise near bedrooms, patios, or neighboring properties.
3. Installing the indoor coil and connecting ductwork
For a central AC system, the indoor evaporator coil is typically installed above or beside the furnace in the supply-air plenum. This coil absorbs heat from indoor air as it passes through the system. It must be matched correctly with the outdoor condenser and installed so airflow remains balanced.
Technicians may need to modify sheet metal around the coil to create a properly sealed connection. Gaps in ductwork can waste conditioned air, pull in dusty air from mechanical spaces, and reduce efficiency. A professional installation includes sealing the connections, not just fitting the equipment into place.
If the existing furnace blower cannot move enough air for the new system, that issue should be addressed before startup. Airflow is one of the most overlooked parts of cooling performance. Even a properly sized air conditioner cannot do its job if the duct system is restricted or poorly balanced.
4. Running refrigerant lines, drainage, and electrical connections
The copper refrigerant lines connect the indoor coil to the outdoor condenser. Depending on their condition and compatibility, existing lines may be reused or replaced. Reusing them can reduce labor costs, but only if they are correctly sized, clean, undamaged, and suitable for the new equipment.
The condensate drain also needs close attention. As the system removes humidity, water collects at the indoor coil and must drain away safely. A blocked, poorly sloped, or disconnected drain can lead to water damage, mold concerns, or system shutdowns. Where gravity drainage is not possible, a condensate pump may be installed.
The technician also installs or verifies the disconnect box, breaker capacity, wiring, and grounding. Electrical requirements vary by system, so this is not a place for guesswork. Correct electrical work protects both the equipment and your home.
5. Pressure testing and evacuating the system
Before refrigerant is added or released into the system, technicians pressure-test the line set to check for leaks. They then use a vacuum pump to remove air and moisture from the refrigerant lines. This step is essential.
Moisture inside a cooling system can react with refrigerant and oil, contribute to corrosion, and reduce performance. Skipping or rushing evacuation may save a little time on installation day but can create expensive problems later. This is one of the clearest differences between a careful installation and a rushed replacement.
6. Charging, testing, and commissioning
Once the system is sealed and evacuated, the installer charges it according to manufacturer specifications. The team then starts the equipment and checks operating pressures, temperature difference, airflow, thermostat operation, electrical readings, and condensate drainage.
A proper final test is more than confirming that cold air comes from a vent. The installer should verify that the system is operating within its intended range and make adjustments if needed. They should also show you how to use the thermostat, explain filter replacement, and review basic maintenance requirements.
What Can Change the Installation Timeline?
A standard replacement may be completed in one day, while more involved projects can take longer. New ductwork, a furnace replacement, electrical panel work, difficult equipment access, structural modifications, or permit requirements can extend the schedule.
Weather can also affect outdoor work, especially when a concrete pad, wall bracket, or electrical work is required. A professional contractor should set realistic expectations rather than promise an installation timeline that ignores the condition of the home.
For Toronto-area homes, older duct systems and tightly packed mechanical rooms are common reasons an installation needs additional planning. That is not necessarily a bad sign. It means the work is being tailored to the property rather than treated as a one-size-fits-all swap.
How to Protect Your New Air Conditioner
After installation, keep the outdoor unit clear of leaves, grass clippings, and stored items. Check the air filter regularly, especially during periods of heavy summer use. A clogged filter restricts airflow and can cause the coil to freeze or the system to work harder than necessary.
Annual maintenance is also worthwhile. A technician can inspect electrical components, clean the outdoor coil, check drainage, confirm refrigerant performance, and catch small issues before they become a no-cooling call on a hot day. If cooling becomes uneven, the system runs constantly, or you notice water around the furnace, schedule service promptly.
When you are ready to replace your system, choose an installer who explains the work clearly and treats the details seriously. A2Z Comfort Solutions helps homeowners make practical, efficient cooling decisions with professional installation and clear estimates. The right system, installed the right way, gives your household something more valuable than a cold vent: confidence when the temperature climbs.